Install R and RStudio
One of the software and (programming) language we will be using for our data science is R. To kickstart our data science series, we will start with installing R and RStudio, which will be covered in this article.
Install R Language
To install R Language in your system, we can download R from the Comprehensive R Archive Network (CRAN). Go to https://cran.r-project.org/
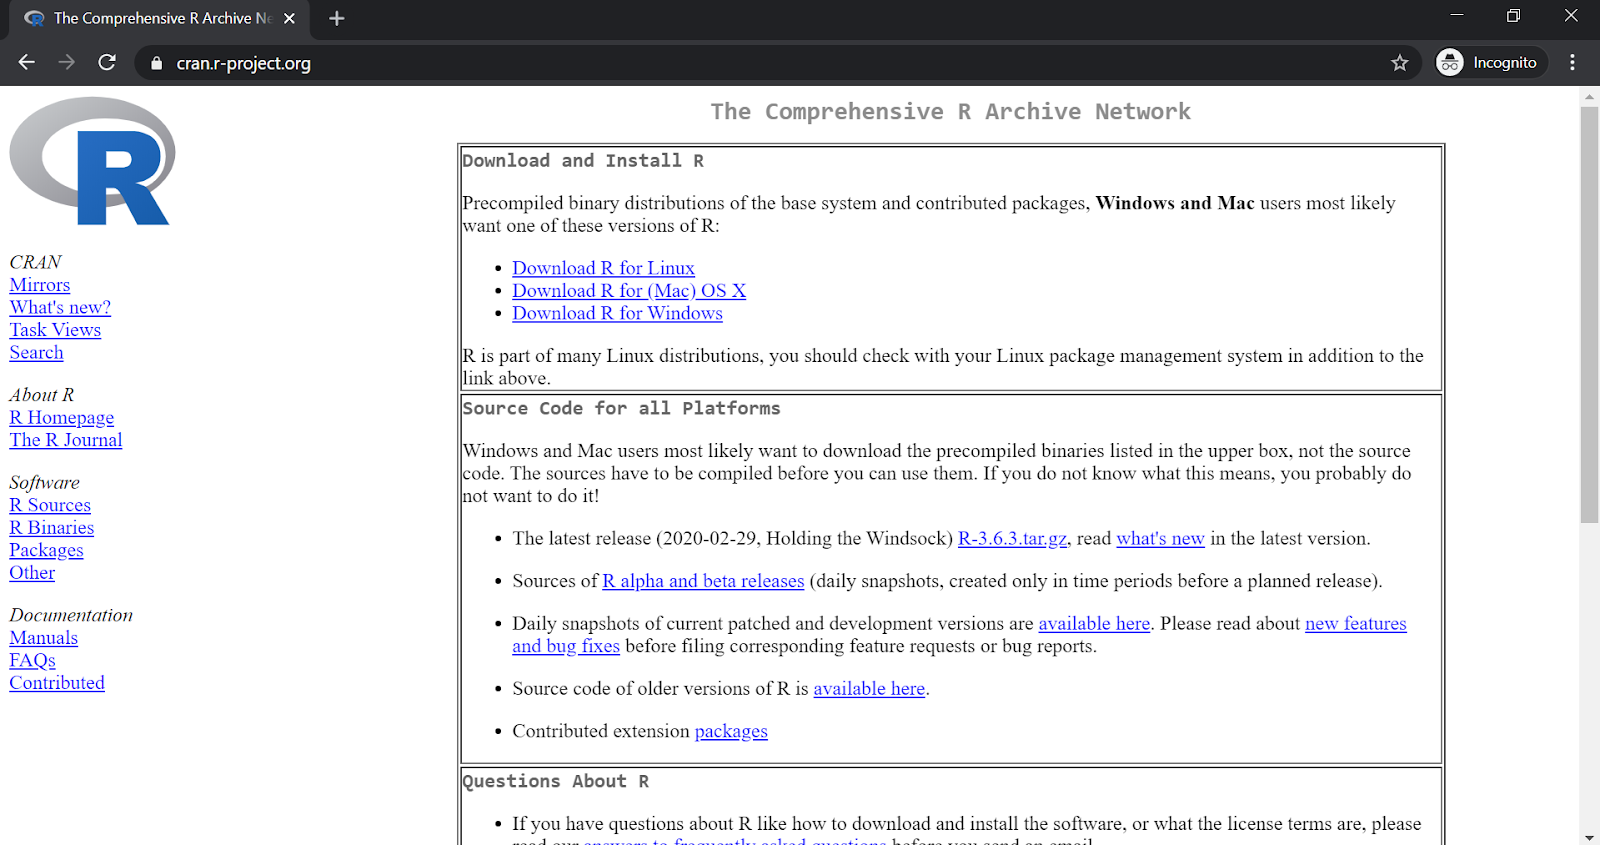
https://cran.r-project.org/
Look for your operating system. In this article, I'll list down several steps (screenshots) installing R Language (and later RStudio) in Windows platform. So for my case, I choose Download R for Windows
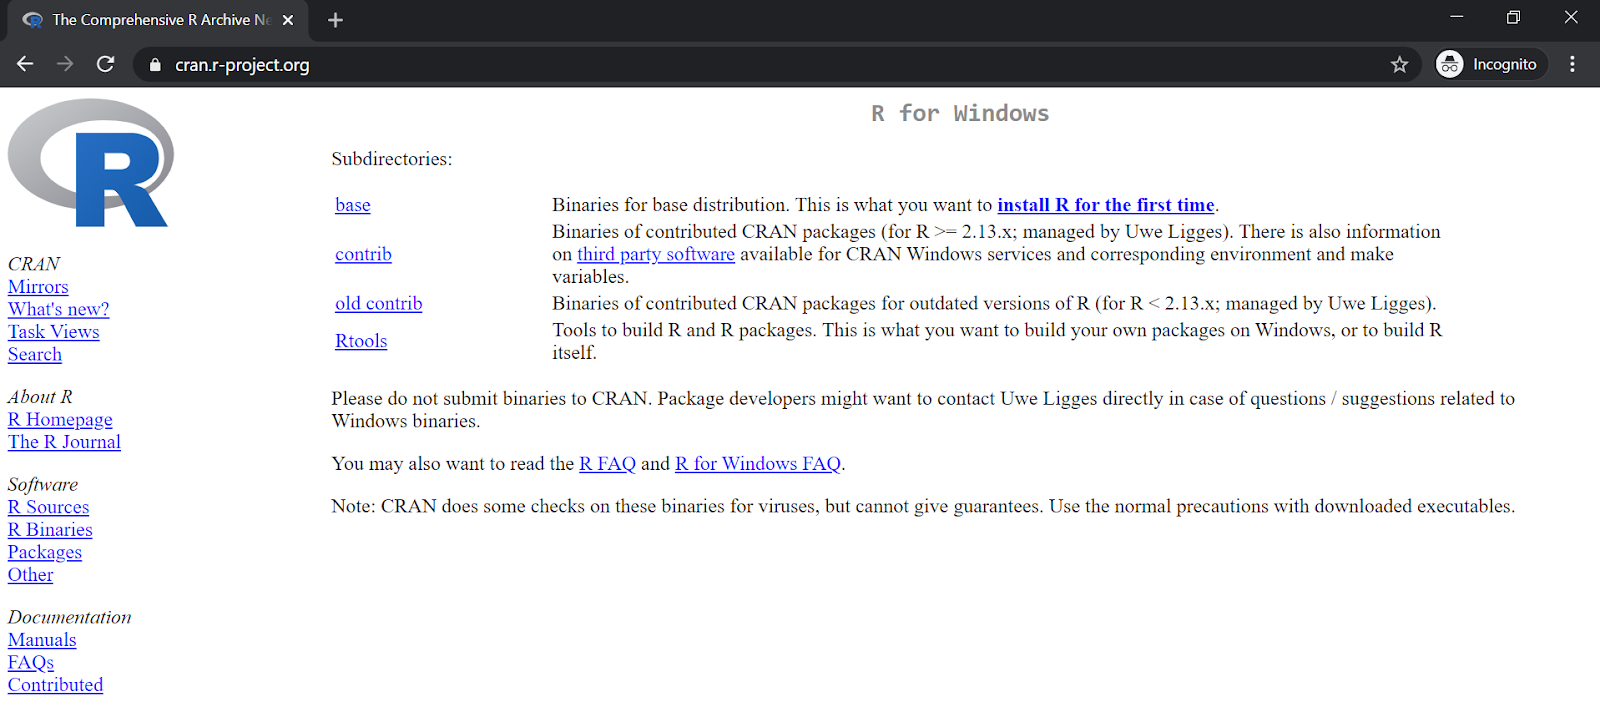
https://cran.r-project.org/bin/windows/
For another operating system the options maybe different. For Windows, get the binaries for base distribution. Get the latest version available for Windows. In time this article written, the version is 3.6.3 for Windows.
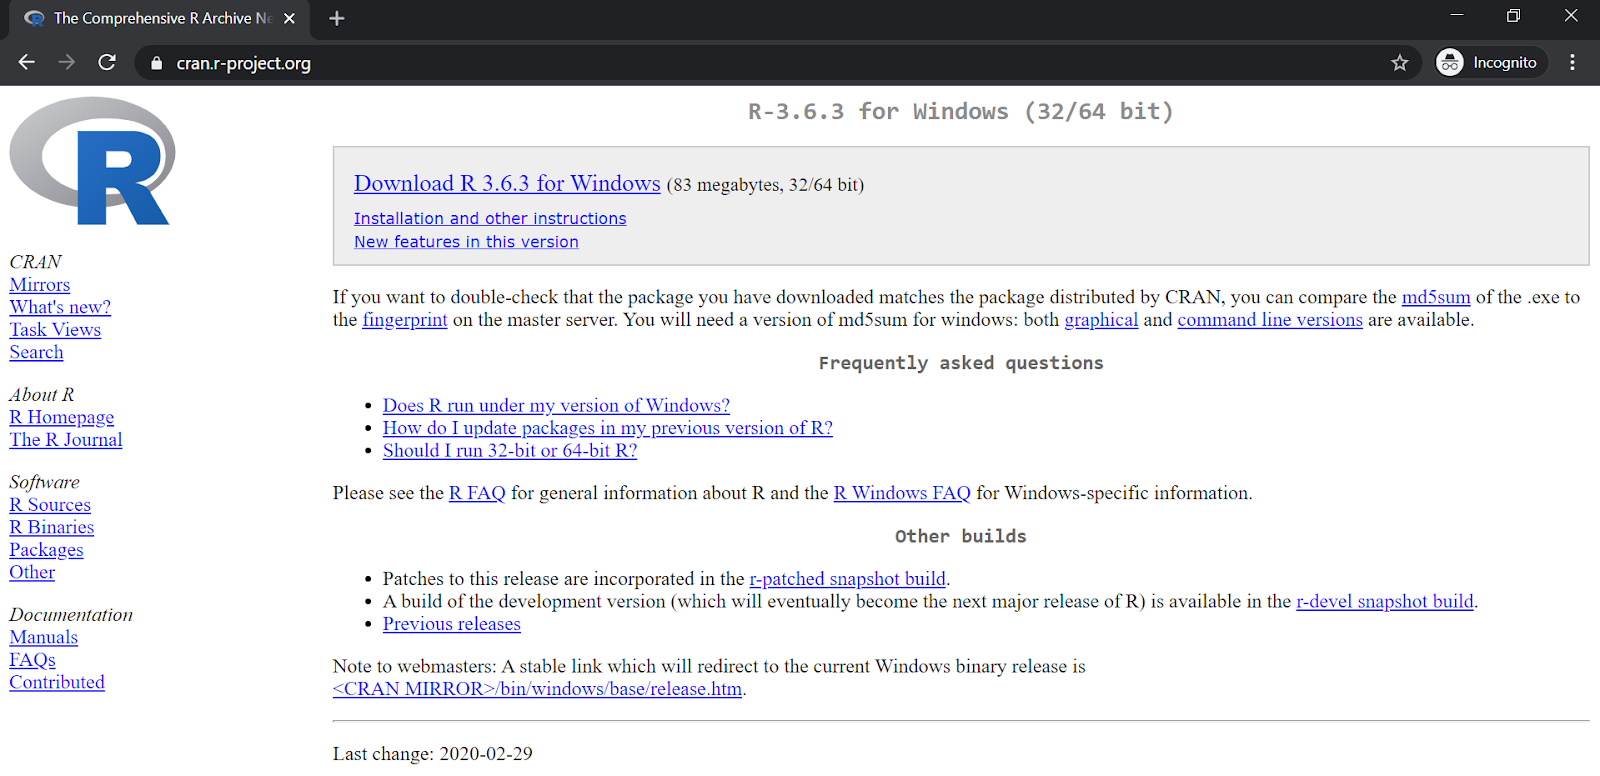
https://cran.r-project.org/bin/windows/base/
Once the installation process starts, you need to "Select Setup Language" and review Setup Information.

Select Setup Language

Setup Information
Next, to choose your installation folder.
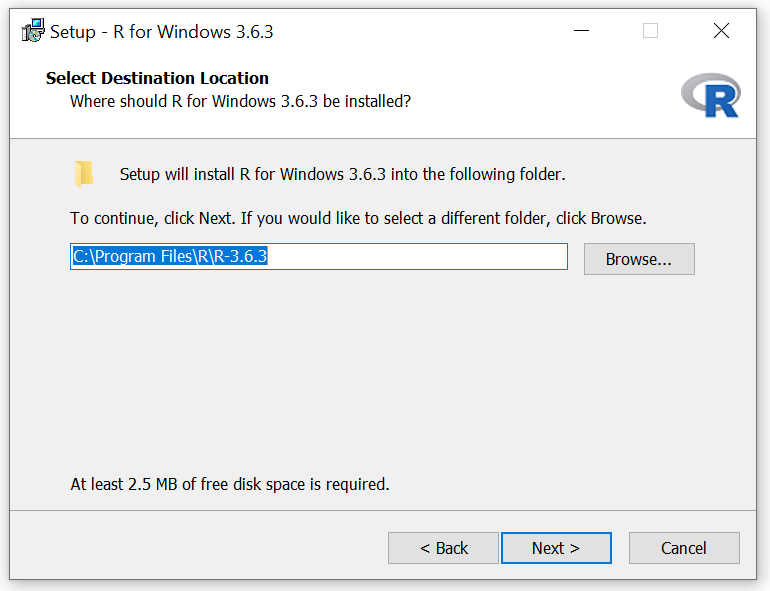
Select Destination Folder
We recommended to choose default installation options, like customize the startup options, and Select Components — which component should be installed.
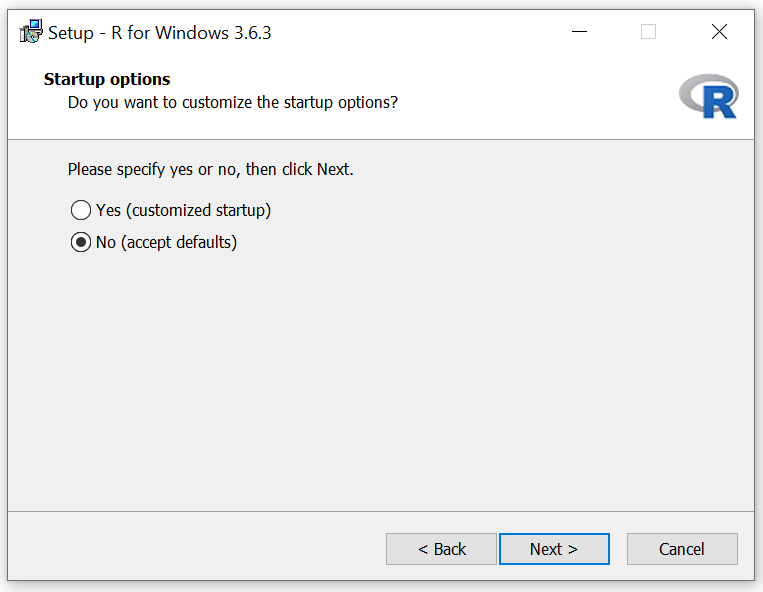
Startup options
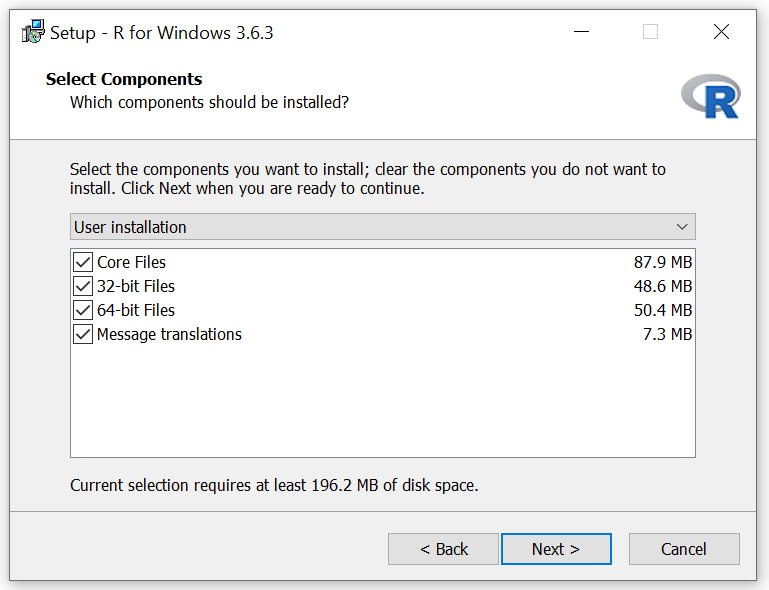
Select Components
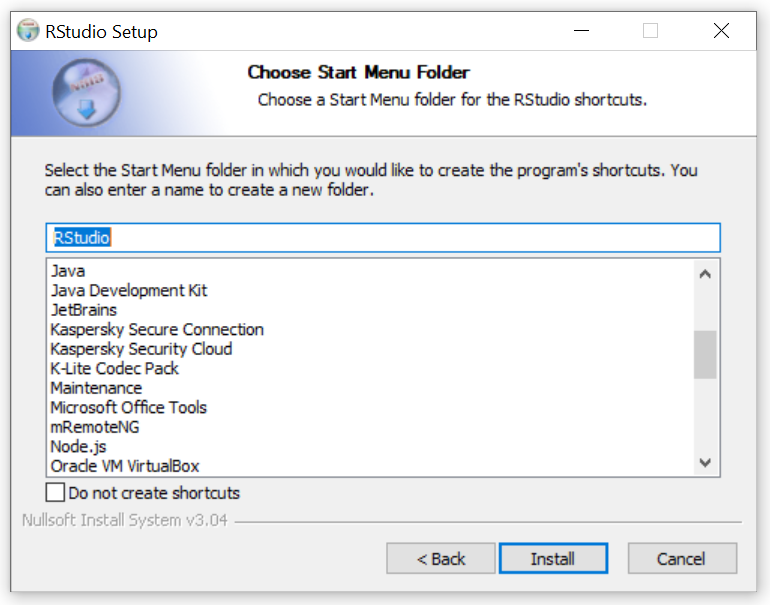
Next, "Select Start Menu Folder" and "Select Additional Tasks"
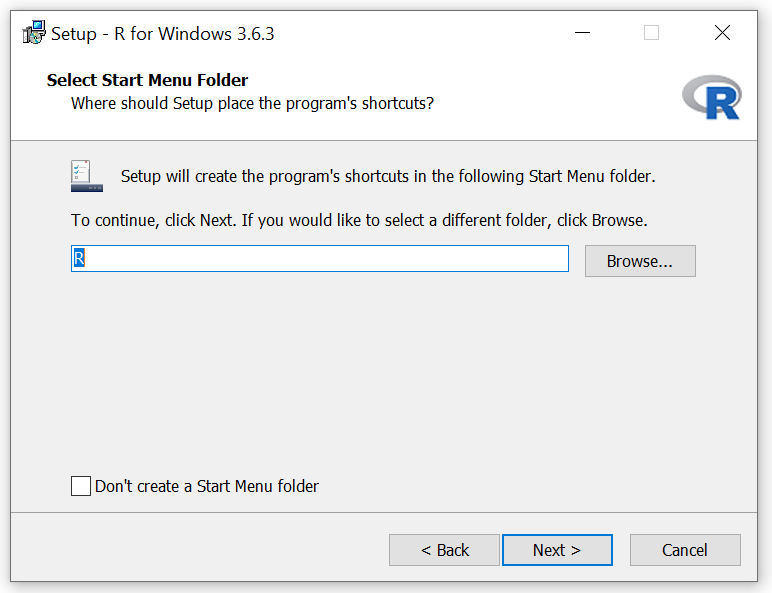
Select Start Menu Folder

Select Additional Tasks
After that, click Next to start installation progress
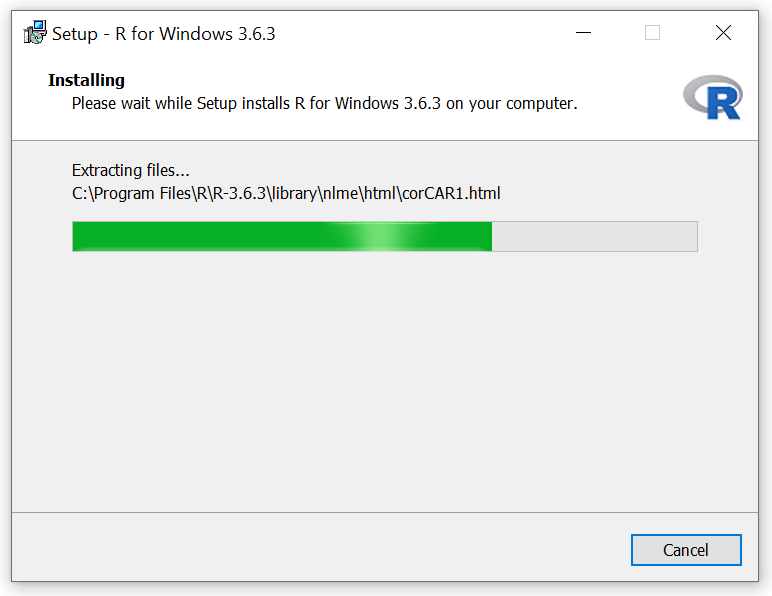
Installing...
Click Finish to exit Setup
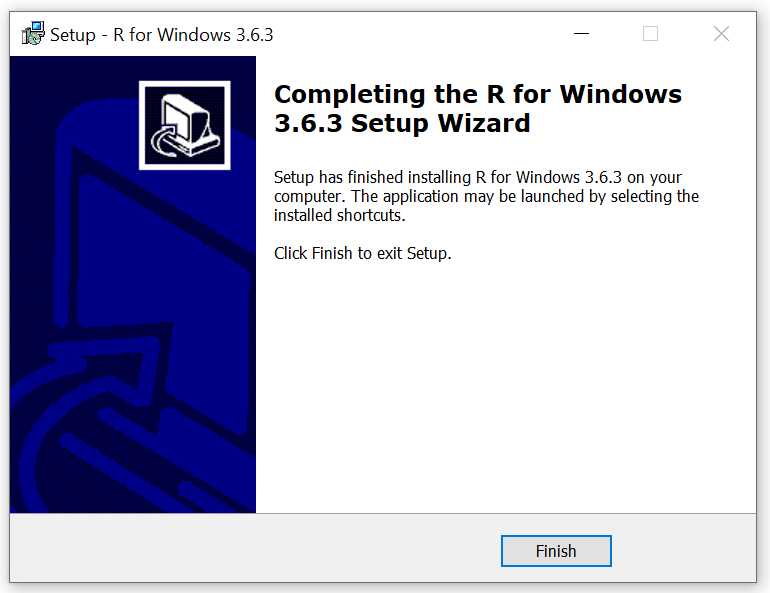
Completing the R for Windows
R Icons
Congratulation, now R Language is installed in your machine.
Using default installations on a Windows machine, two shortcuts will appear on your desktop, which you can just double click to start RGui. One is shortcut for RGui 32-bit, and other is for 64-bit.
When we open RGui, we will see the R Console screen. The console lists some basic information such as your R version number and the licensing conditions, then followed (in below) by R prompt (> symbol). You will see a blinking cursor to the right of the > symbol, where we can type our commands to R.
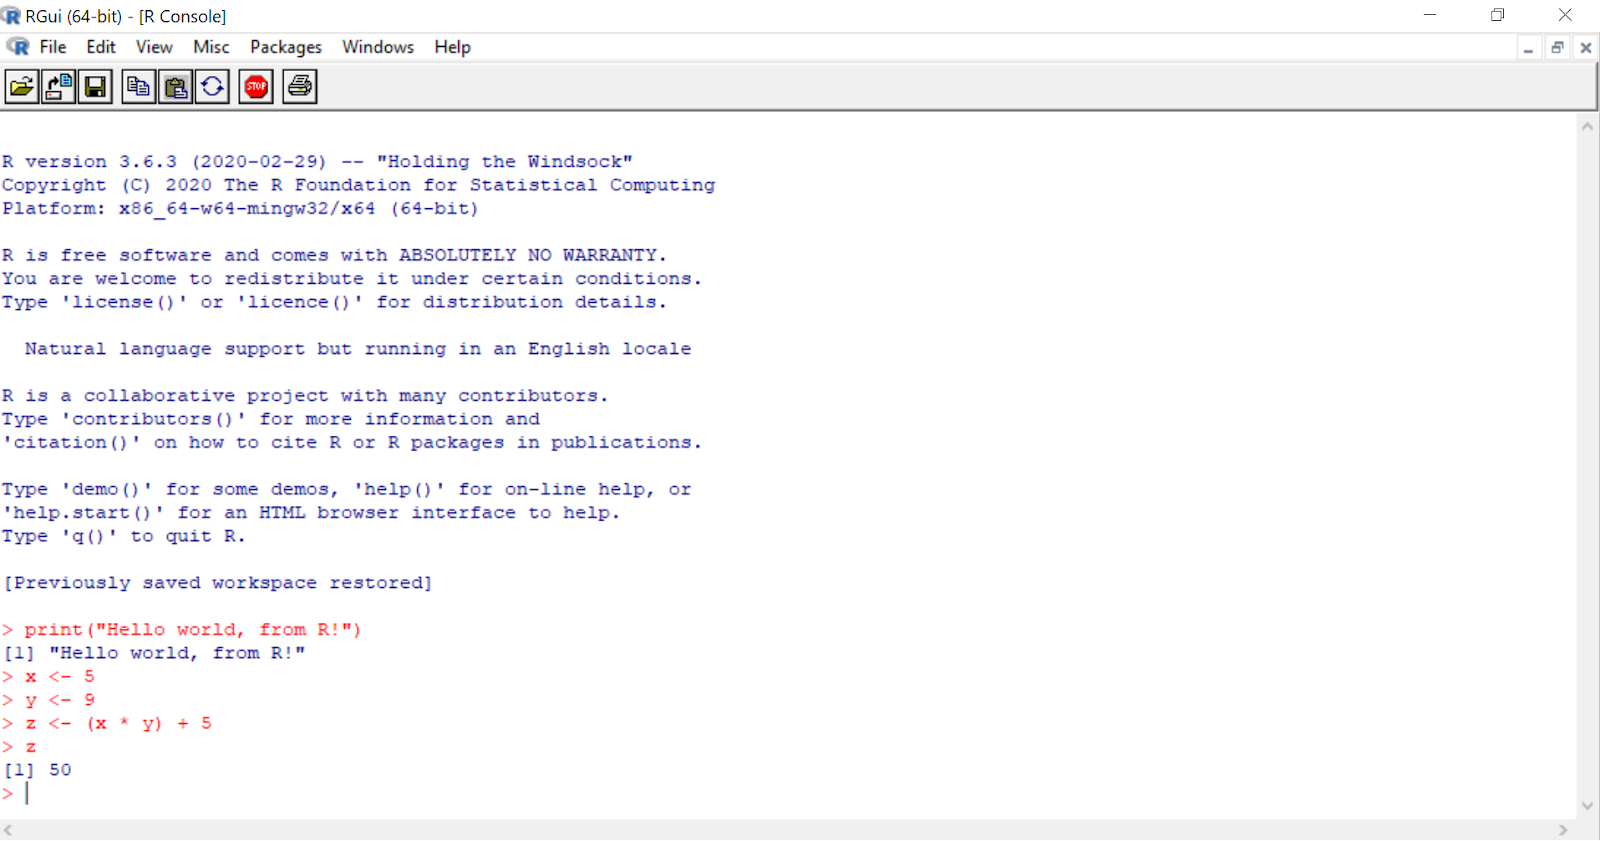
RGui (64-bit) for Windows
Simple Command in The R console
From screenshot above, you will notice several simple command. To print a string in the console, you need to use function print()
> print("Hello world, from R!")
[1] "Hello world, from R!"
Use <- to assign a variable. This command assign a value 5 to a variable x
> x <- 5
And so on, and so on for variable y and z. Notice that we can do arithmetic operation in sample above:
> y <- 9
> z <- (x * y) + 5
To print out the value of the variable z
> z
[1] 50
As you notice from example above, R variables are lower-case and case sensitive. We will revisit this later on when we learn more about R Language.
Install RStudio
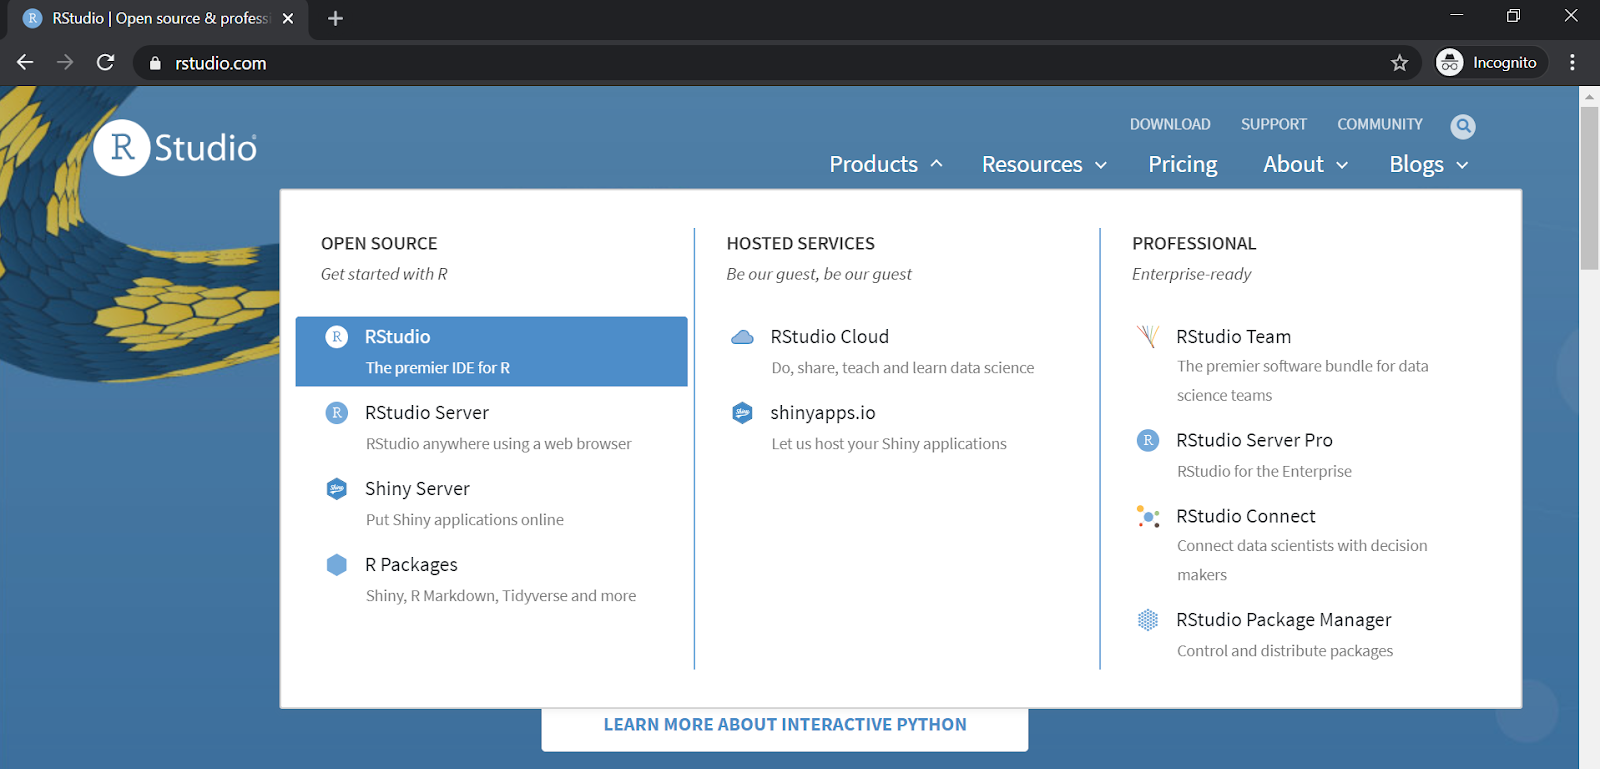
RStudio is an interactive desktop environment. Go to https://rstudio.com/ to get a copy of RStudio. Go to "Products", get RStudio
https://rstudio.com/
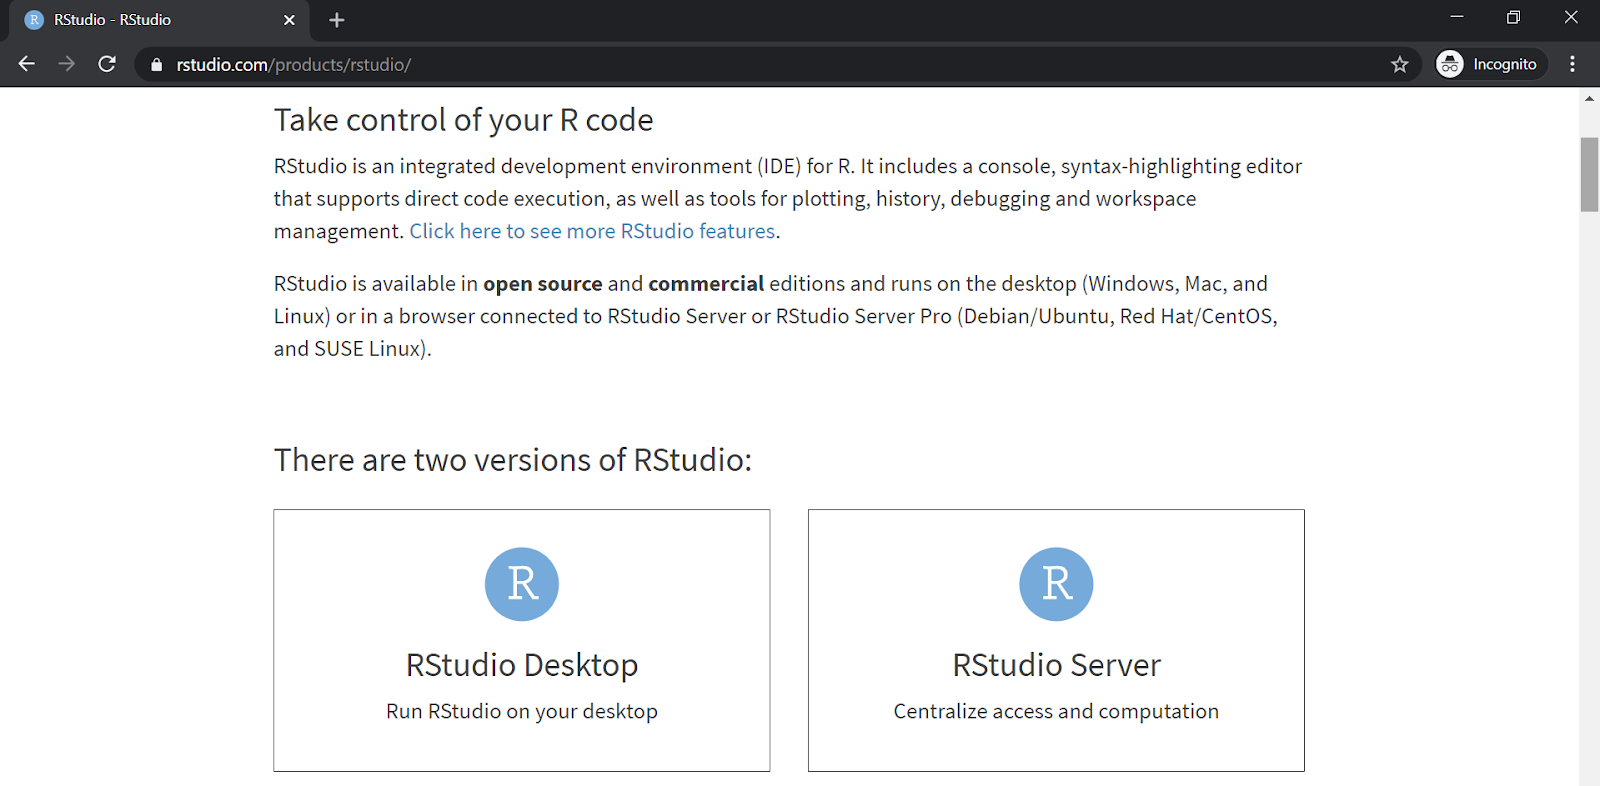
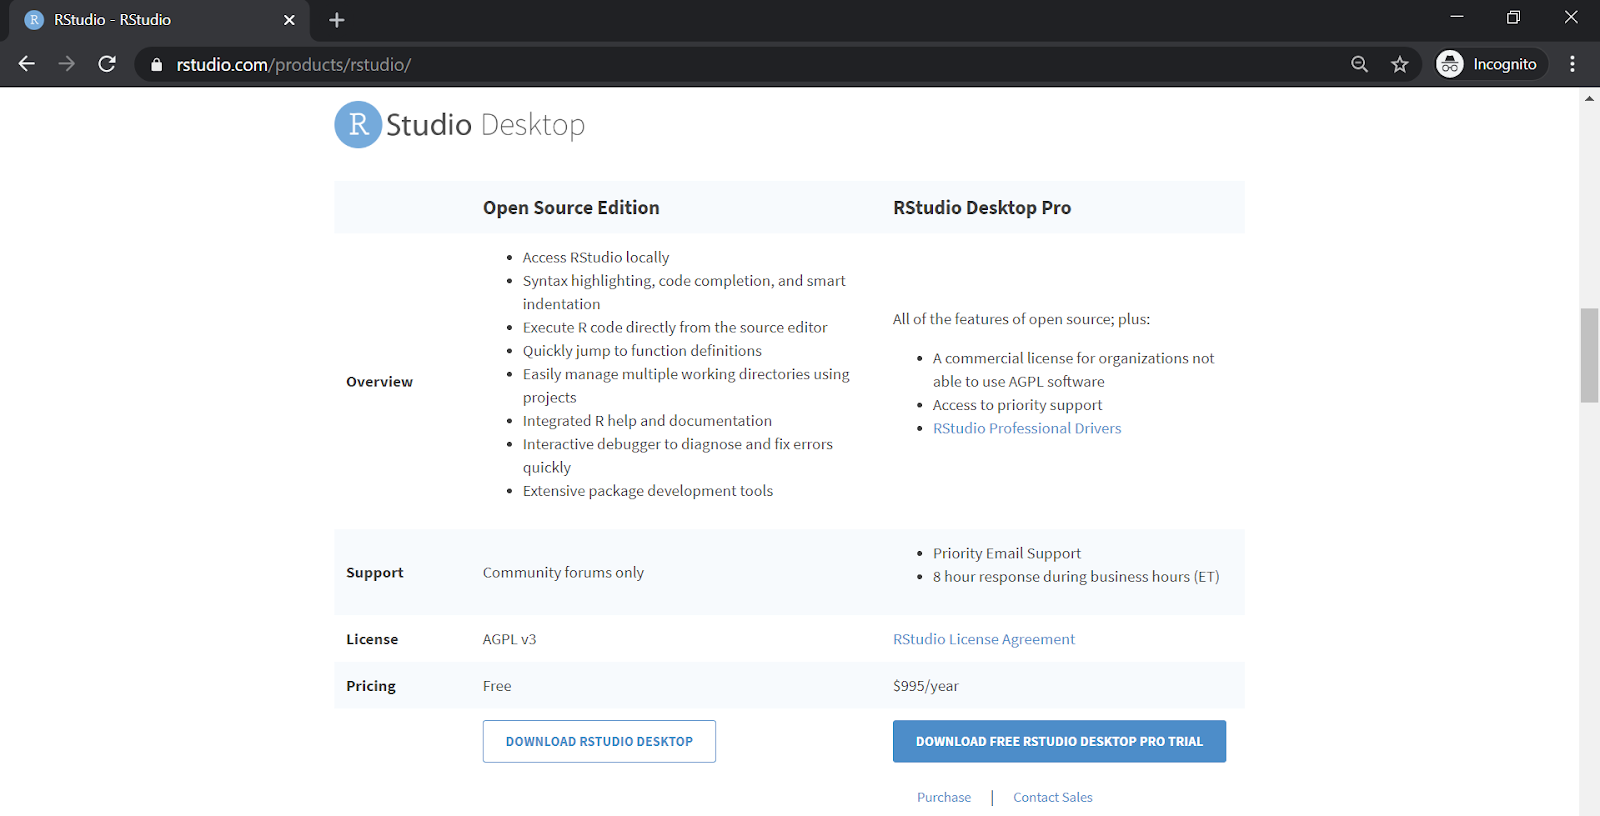
Currently, there are two versions: RStudio Desktop and RStudio Server. For this article, what we need is only to run RStudio in our desktop.
https://rstudio.com/products/rstudio/
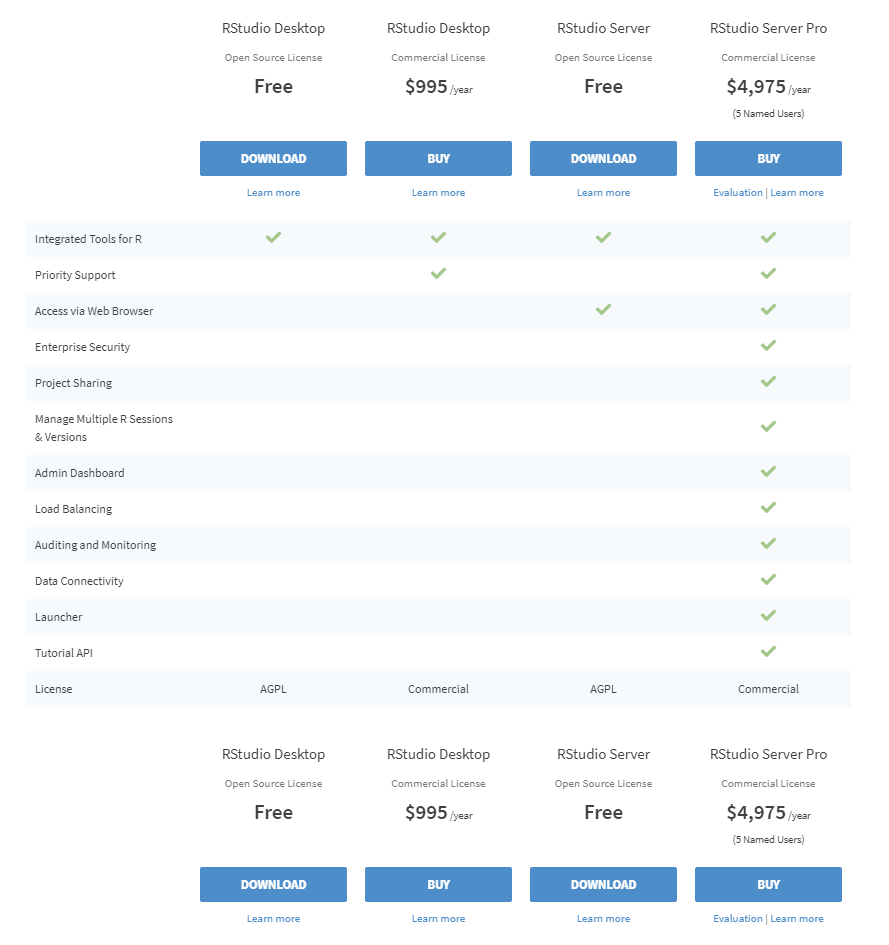
Then come to choices, "Open Source Edition" or "RStudio Desktop Pro". After that you will shown the difference between versions, even between RStudio Desktop and RStudio Server.
RStudio Versions
https://rstudio.com/products/rstudio/download/
Click "Download" again, and it will take us to the section in which installers are available for each operating system. Choose your download package/installer (or you can choose the default installer, the RStudio page seems able to detect your operating system).
https://rstudio.com/products/rstudio/download/
In my case, I doesn't want an installer, so I just download a zip package for Windows 10/8/7. So I just download, move it, and extract it in my application folder. But if you choose an installer, we recommend to follow the default options by clicking Yes:
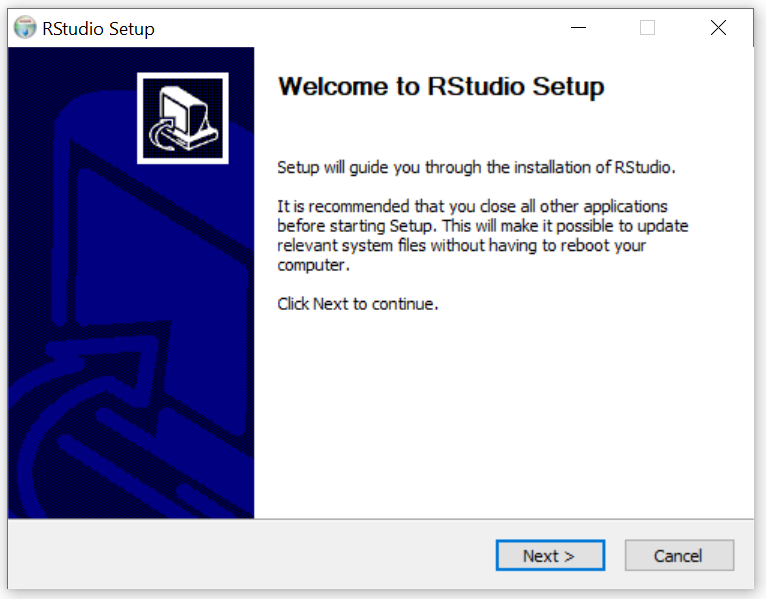
Welcome to RStudio Setup
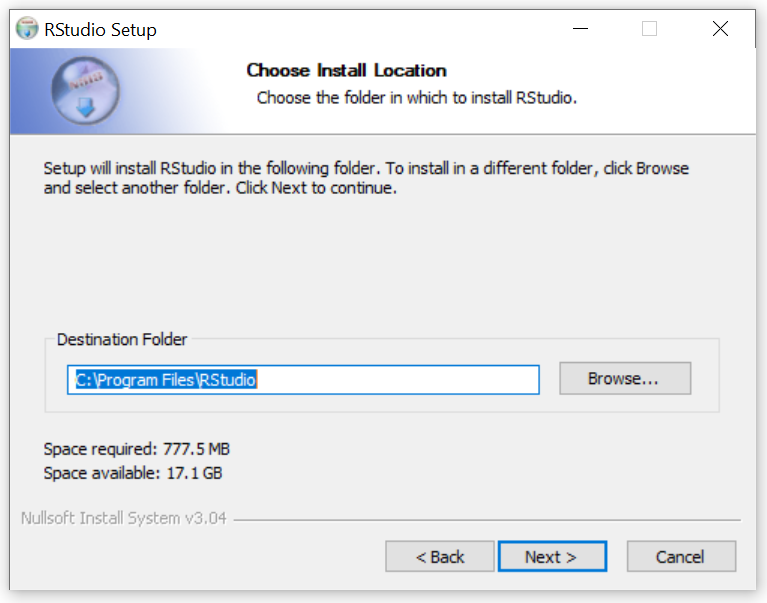
Choose Install Location
Choose Start Menu Folder
And "Install", that's it. After finish with your installation, open RStudio. If you start RStudio for the first time, you will see three panes. The left pane shows you the R console. On the right, there are two panes. The top pane includes three tabs: Environment, History, and Connections. The bottom pane have five tabs: File, Plots, Packages, Help, and Viewer.
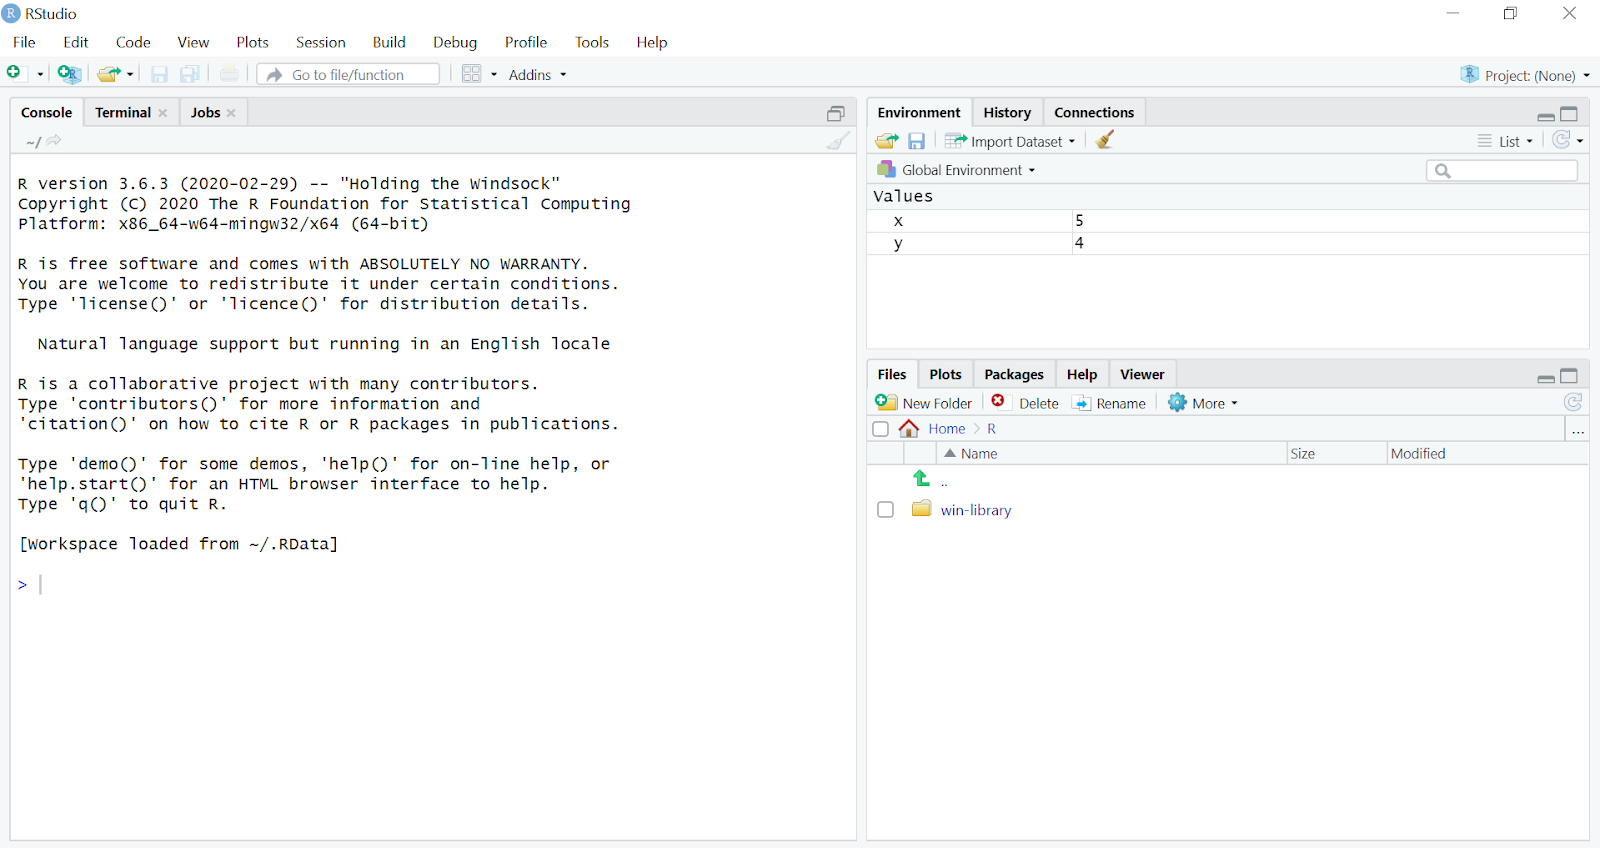
RStudio
The left pane's R console is exactly same like the R console we have after R Language installation. RStudio is not R, and not bundled with R when we download and install it. Hence the sequence to install R first, before RStudio. In another words, RStudio will rely on R installed in your system. To check or change which R is used by RStudio, go to menu "Tools" -> "Global Options". In General, you will see which R version is used by RStudio, and you can change it if you want.
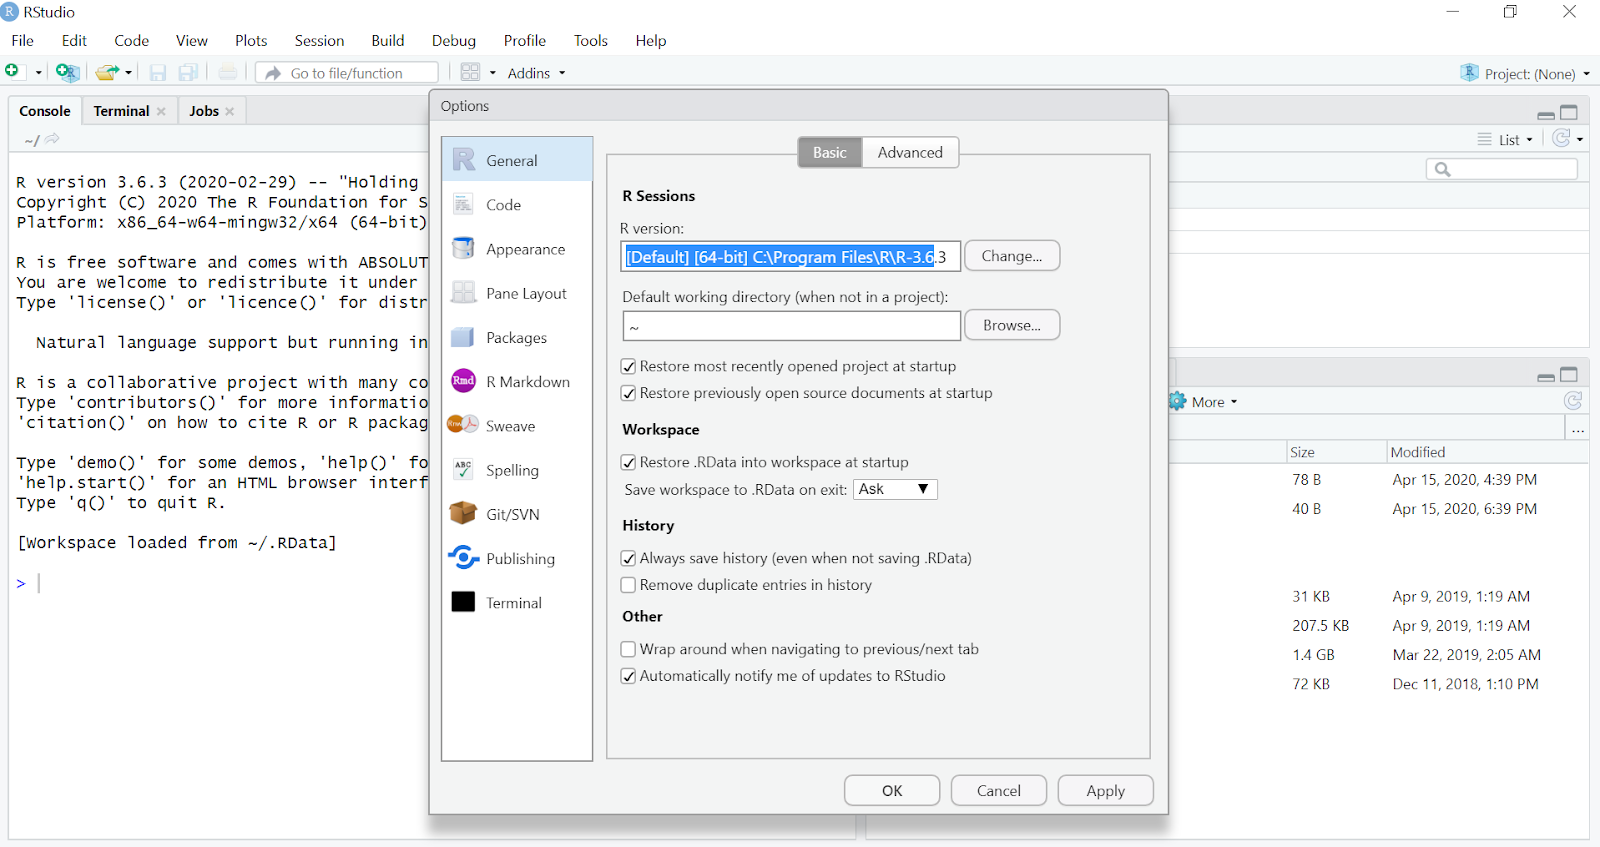
Tools -> Global Options -> General
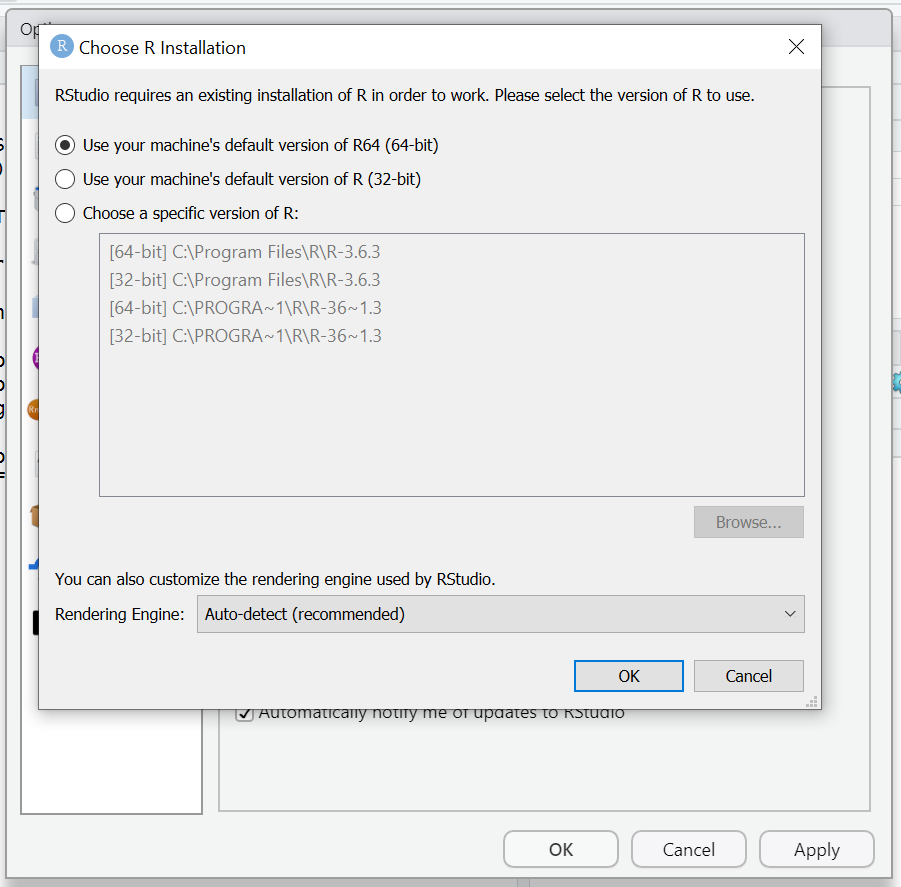
Choose R Installation
Another Option that important for my case, is to change the "Zoom" percentage in "Appearance", I need to make it smaller to fit my small screen laptop.

Tools -> Global Options -> Appearance
Conclusion
Congratulation, we are now have fully functional R software environment ready for our data science challenge!

Desson AriawanProgrammer