Install Ubuntu 20.04 LTS (Focal Fossa)
The Ubuntu 20.04 LTS focal already available for download starting on 23 April 2020. This LTS have longer End Of Life (EOL) until April 2025.
In this article I will write on how to install Ubuntu 20.04 LTS. The medium used for this installation is VirtualBox. And the image I used is Server install image, that available in here. The server install image allowing us to install Ubuntu as a server — not client desktop. A graphical user interface is not part of installation, and is not needed. So everything will be in command line.
Let's start to run through the installation progress, in following screenshots:

Loading installer disk
After Welcome screen appeared, choose a language for installation, and then followed by Keyboard configuration.
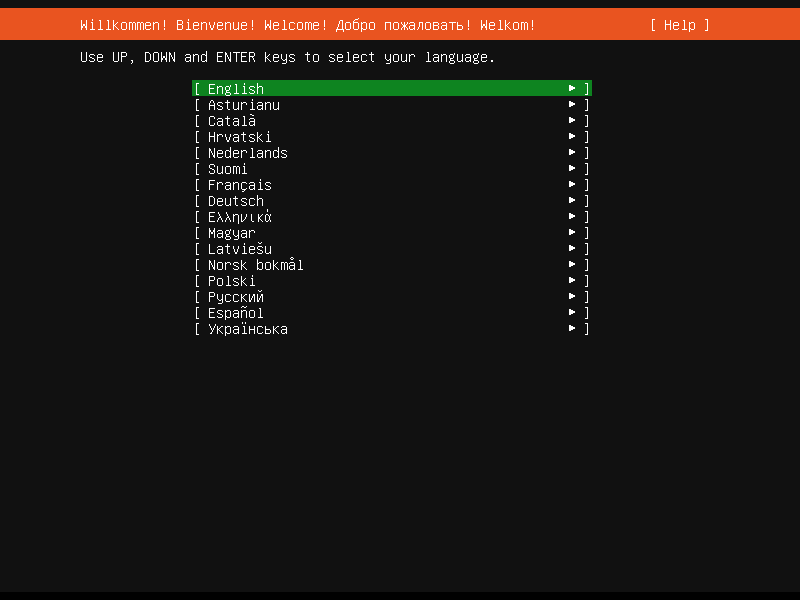
Use UP, DOWN, and ENTER keys to select your language
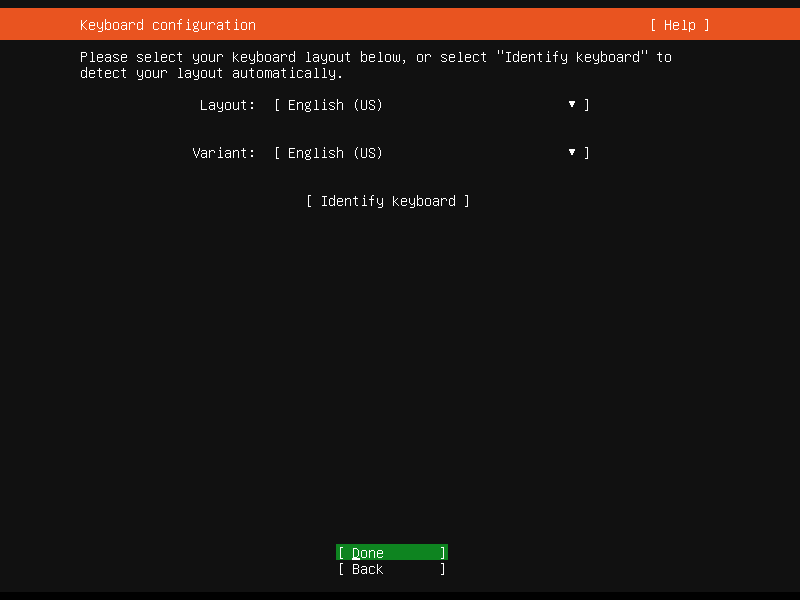
Keyboard configuration
Next steps: configure Network connections, Configure proxy (if requires a proxy to connect to the internet), and Configure Ubuntu archive mirror.
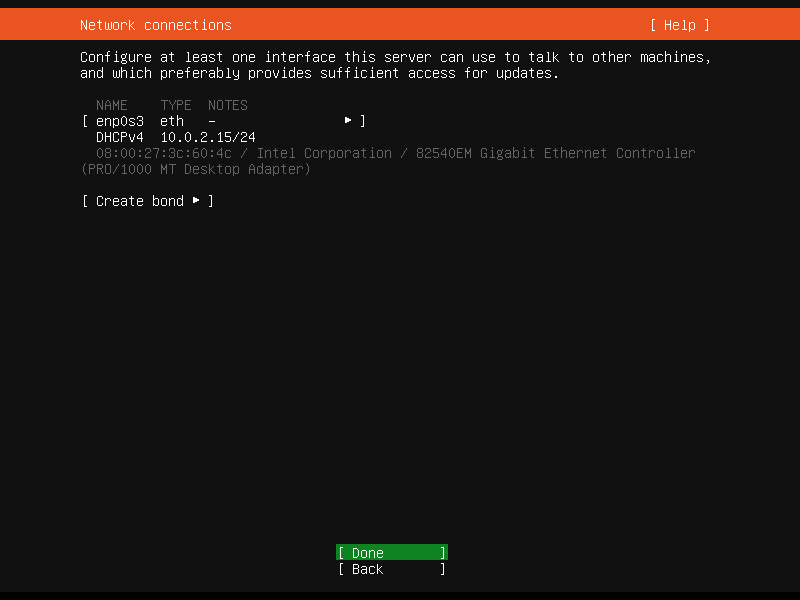
Configure at least one interface this server can use to talk to other machines
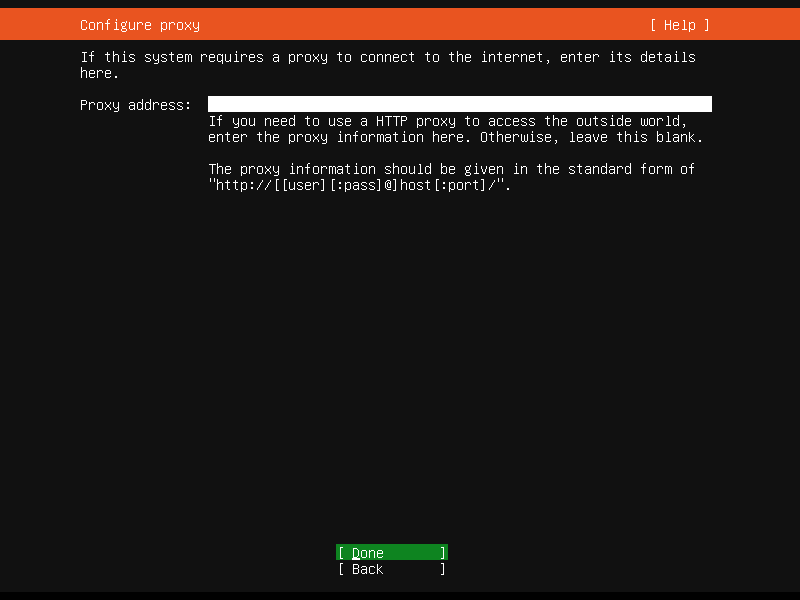
Enter details if your system need proxy to connect to internet
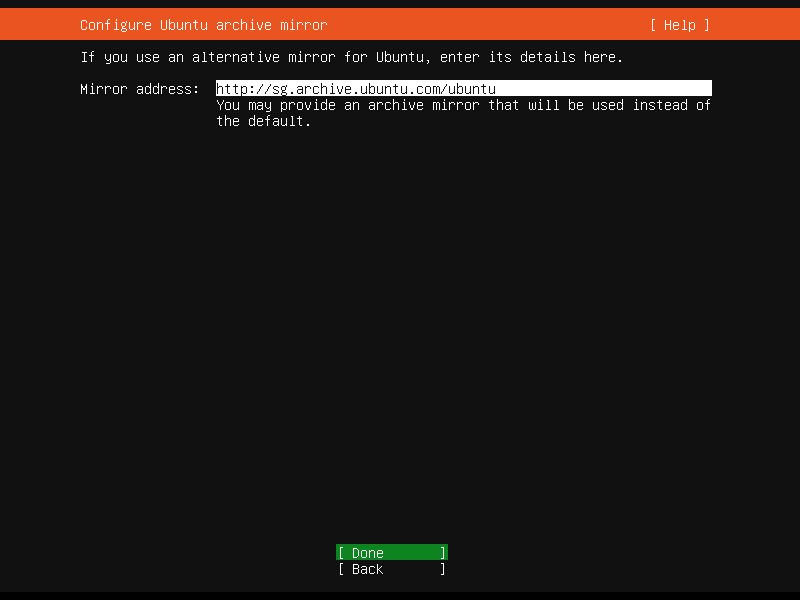
Configure Ubuntu archive mirror
Next: Storage configuration.
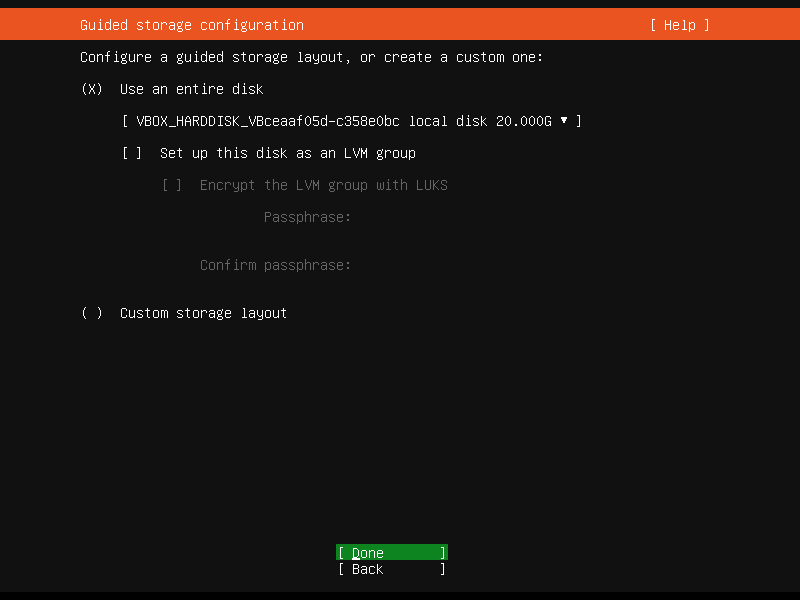
Configure a guided storage layout or create a custom one
In this step you have an option to setup your disk as an LVM group.
LVM, or Logical Volume Management, is a great piece of software that provides "dynamic partitions" for the Linux kernel. Most of recent Linux distributions, including Ubuntu are LVM-aware, and allowing their root file systems on a logical volume, not limited to physical volume like in older days.
With LVM, you can create/resize/delete LVM "partitions" (or "Logical Volumes" in LVM terms) from the command line while your Linux system is running. No restart required for Linux kernel to aware about the newly-created or resized partitions. LVM features and downsides are out of the topic of this article. You can read about LVM in this discussion.
Next, still in the storage (section), is our partition(s) and file systems, and to confirm to continue to write those partitions. Choose "Continue" to confirm the "destructive" action :p.
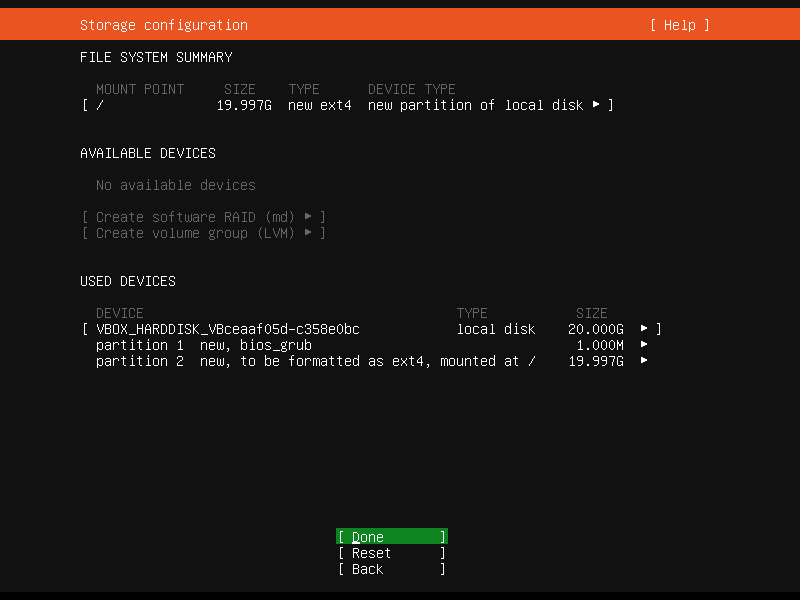
File System Summary - available devices and used devices
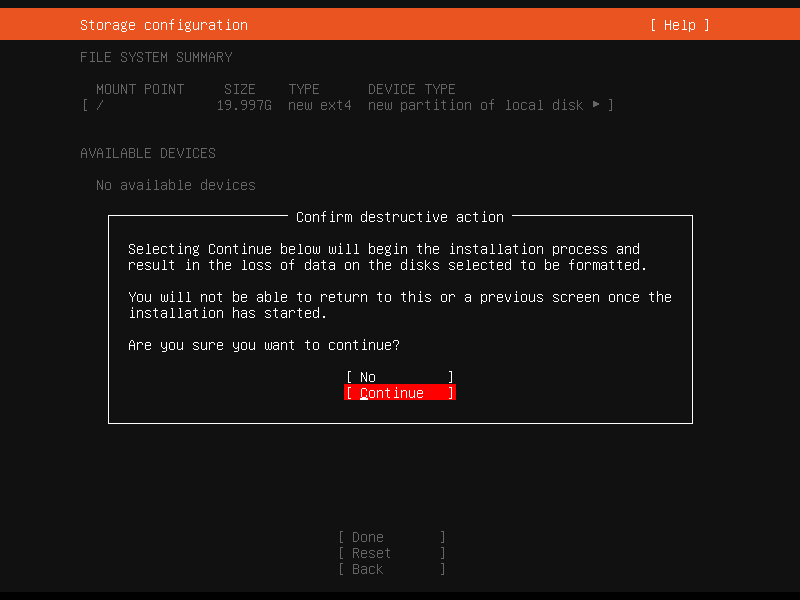
Confirm destructive action - why this action sound bad...?
Next is Profile setup. In this step, we will need to provide username and password to login to the system.
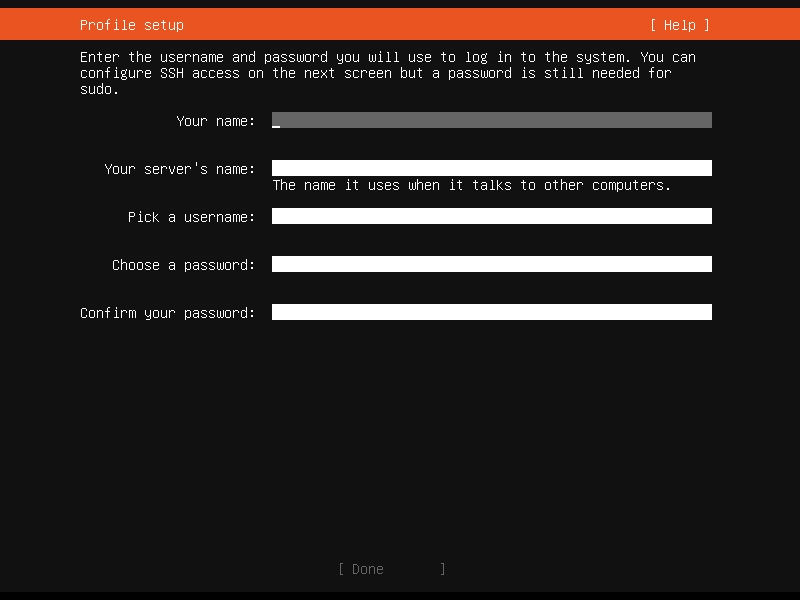
Enter the username and password you will use to login to the system
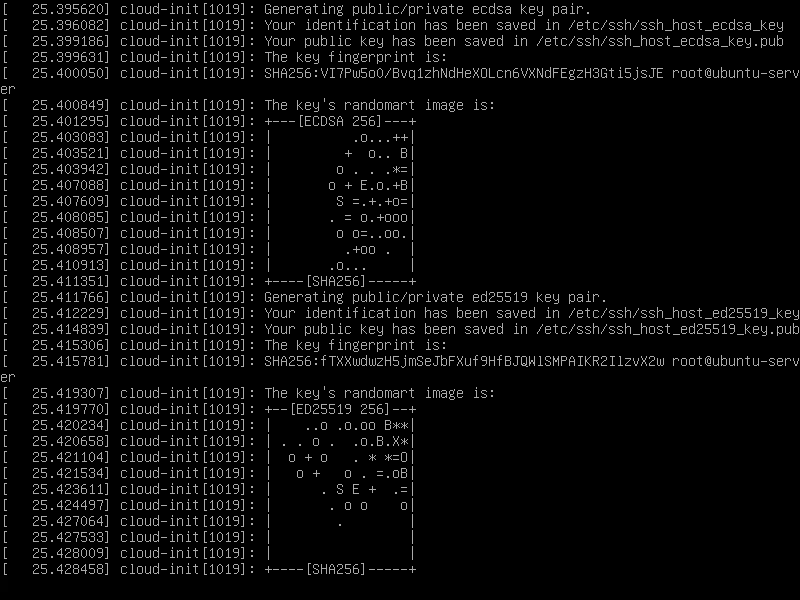
Next is SSH Setup. In this option, we have option to install the OpenSSH server package to enable secure remote access to our server.

You can choose to install the OpenSSH server package to enable secure remote access to your server
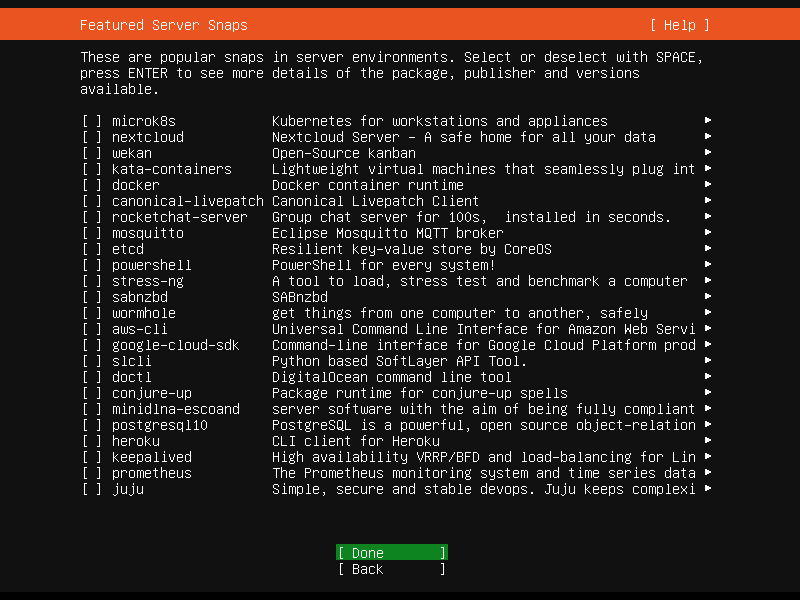
Next is if you want to install one of popular server snaps. A snap is a bundle of applications compressed together with their dependencies, with descriptions of how to run and interact with other software on the system you installed it on. So instead of installing packages, what you need is to install one snap to have certain services (or features).
You can choose to install the OpenSSH server package to enable secure remote access to your server
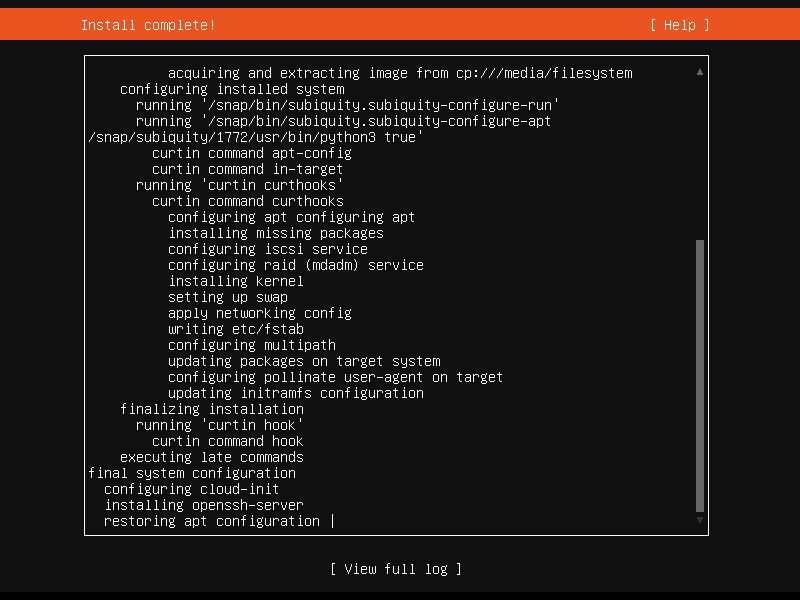
Install complete, view full log, or reboot to start enjoying your new server.
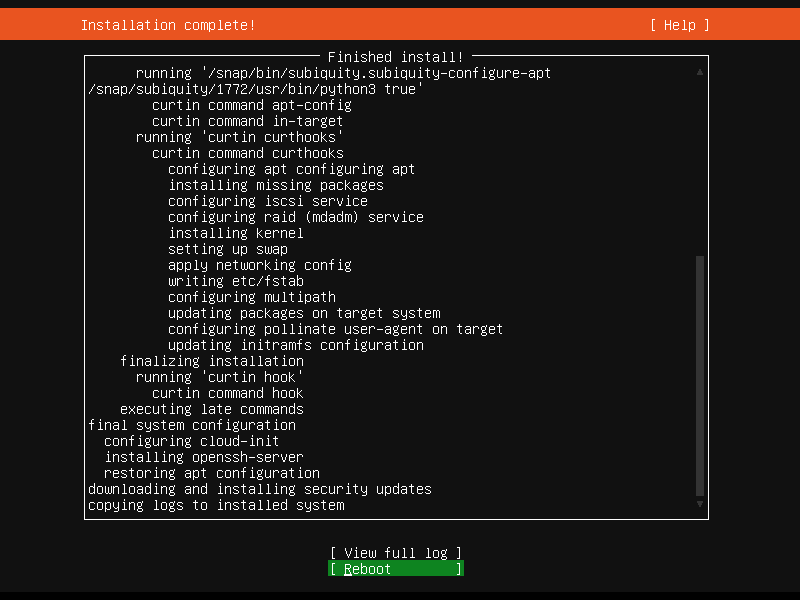
Install complete!
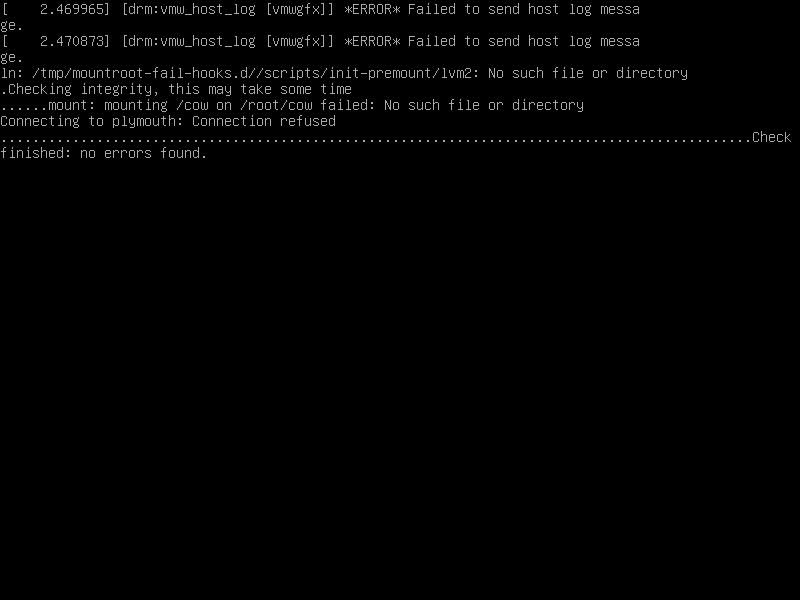
After reboot, starting our new server:
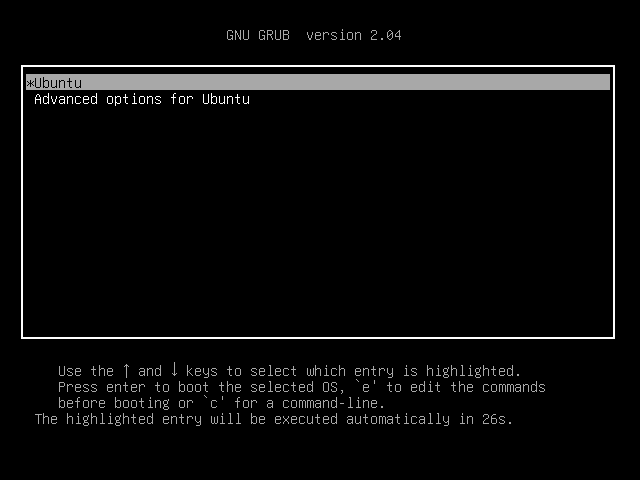
Grub Boot Loader
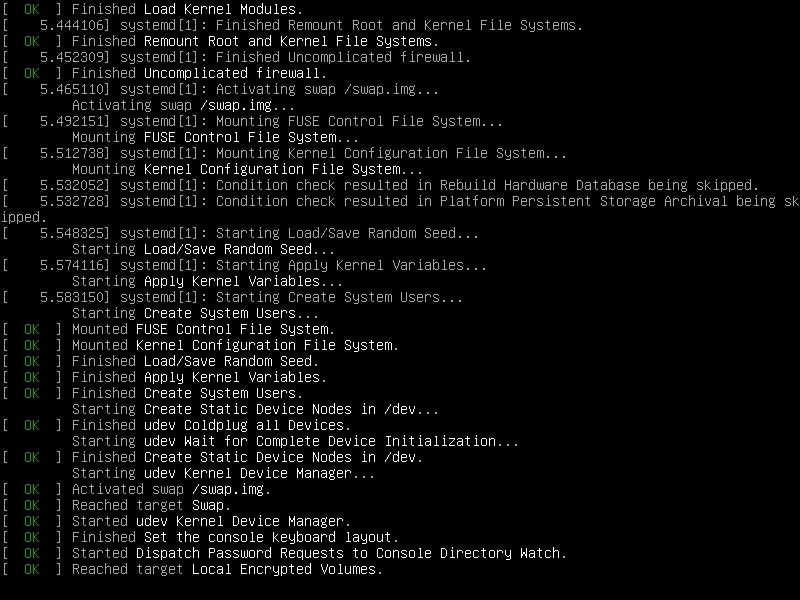
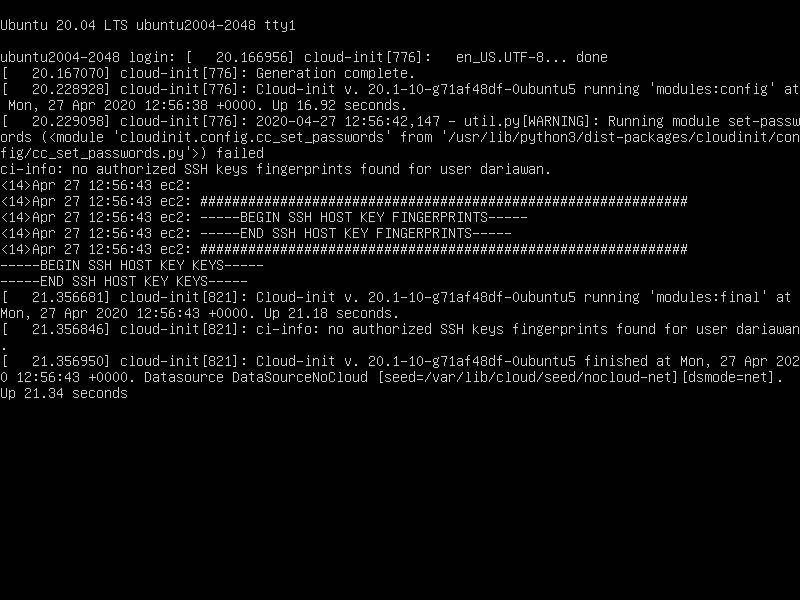
Ubuntu starting...
Login to our new Ubuntu server:

Login
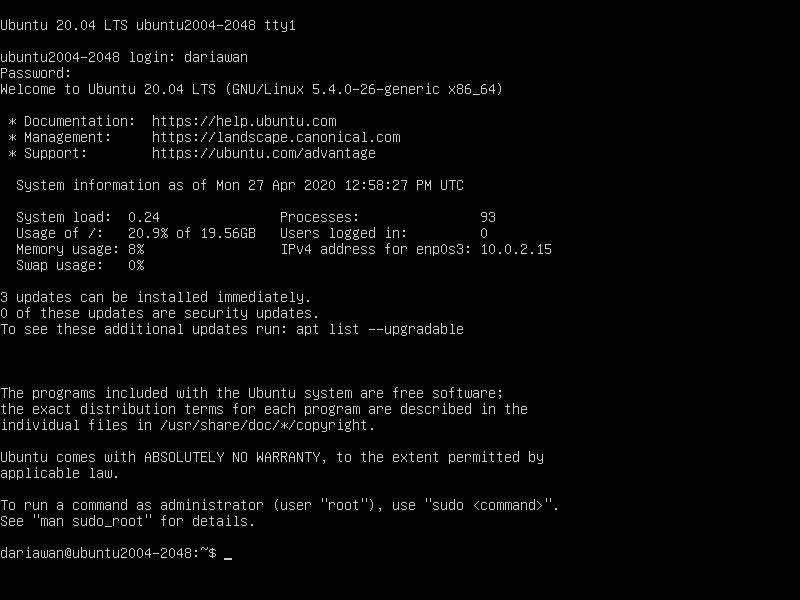
First login
The first thing I normally do after installation, is to make sure my machine updated by using command apt-get update && apt-get upgrade or by breaking down:
$ sudo apt-get update
Hit:1 http://sg.archive.ubuntu.com/ubuntu focal InRelease
Hit:2 http://sg.archive.ubuntu.com/ubuntu focal-updates InRelease
Hit:3 http://sg.archive.ubuntu.com/ubuntu focal-backports InRelease
Hit:4 http://sg.archive.ubuntu.com/ubuntu focal-security InRelease
Reading package lists... Done
$ sudo apt-get upgrade
Reading package lists... Done
Building dependency tree
Reading state information... Done
Calculating upgrade... Done
The following packages will be upgraded:
  distro-info-data libnetplan0 netplan.io
3 upgraded, 0 newly installed, 0 to remove and 0 not upgraded.
Need to get 98.3 kB of archives.
After this operation, 0 B of additional disk space will be used.
Do you want to continue? [Y/n] Y
Get:1 http://sg.archive.ubuntu.com/ubuntu focal-updates/main amd64 distro-info-data all 0.43ubuntu1.1 [4,584 B]
Get:2 http://sg.archive.ubuntu.com/ubuntu focal-updates/main amd64 libnetplan0 amd64 0.99-0ubuntu2 [22.9 kB]
Get:3 http://sg.archive.ubuntu.com/ubuntu focal-updates/main amd64 netplan.io amd64 0.99-0ubuntu2 [70.8 kB]
Fetched 98.3 kB in 1s (82.8 kB/s)
(Reading database ... 70769 files and directories currently installed.)
Preparing to unpack .../distro-info-data_0.43ubuntu1.1_all.deb ...
Unpacking distro-info-data (0.43ubuntu1.1) over (0.43ubuntu1) ...
Preparing to unpack .../libnetplan0_0.99-0ubuntu2_amd64.deb ...
Unpacking libnetplan0:amd64 (0.99-0ubuntu2) over (0.99-0ubuntu1) ...
Preparing to unpack .../netplan.io_0.99-0ubuntu2_amd64.deb ...
Unpacking netplan.io (0.99-0ubuntu2) over (0.99-0ubuntu1) ...
Setting up distro-info-data (0.43ubuntu1.1) ...
Setting up libnetplan0:amd64 (0.99-0ubuntu2) ...
Setting up netplan.io (0.99-0ubuntu2) ...
Processing triggers for libc-bin (2.31-0ubuntu9) ...
Processing triggers for man-db (2.9.1-1) ...
Processing triggers for dbus (1.12.16-2ubuntu2) ...
Check SSH Service
use ssh localhost to check the connection to your localhost
This is the command to check if ssh service is running:
$ sudo service ssh status
● ssh.service - OpenBSD Secure Shell server
     Loaded: loaded (/lib/systemd/system/ssh.service; enabled; vendor preset: enabled)
     Active: active (running) since Wed 2020-04-29 17:34:53 UTC; 7min ago
       Docs: man:sshd(8)
             man:sshd_config(5)
   Main PID: 689 (sshd)
      Tasks: 1 (limit: 2283)
     Memory: 6.0M
     CGroup: /system.slice/ssh.service
             └─689 sshd: /usr/sbin/sshd -D [listener] 0 of 10-100 startups

Apr 29 17:34:53 ubuntu2004-2048 systemd[1]: Starting OpenBSD Secure Shell server...
Apr 29 17:34:53 ubuntu2004-2048 sshd[689]: Server listening on 0.0.0.0 port 22.
Apr 29 17:34:53 ubuntu2004-2048 sshd[689]: Server listening on :: port 22.
Apr 29 17:34:53 ubuntu2004-2048 systemd[1]: Started OpenBSD Secure Shell server.
Apr 29 17:40:17 ubuntu2004-2048 sshd[1139]: Accepted password for dariawan from 10.0.2.2 port 51608 ssh2
Apr 29 17:40:17 ubuntu2004-2048 sshd[1139]: pam_unix(sshd:session): session opened for user dariawan by (uid=0)
Similar command is systemctl status ssh.service
Another command for checking is sshd -T
$ sudo sshd -T
port 22
addressfamily any
listenaddress [::]:22
listenaddress 0.0.0.0:22
usepam yes
logingracetime 120
x11displayoffset 10
maxauthtries 6
maxsessions 10
clientaliveinterval 0
clientalivecountmax 3
streamlocalbindmask 0177
permitrootlogin without-password
ignorerhosts yes
ignoreuserknownhosts no
hostbasedauthentication no
hostbasedusesnamefrompacketonly no
pubkeyauthentication yes
kerberosauthentication no
kerberosorlocalpasswd yes
kerberosticketcleanup yes
gssapiauthentication no
gssapicleanupcredentials yes
gssapikeyexchange no
gssapistrictacceptorcheck yes
gssapistorecredentialsonrekey no
gssapikexalgorithms gss-gex-sha1-,gss-group14-sha1-
passwordauthentication yes
kbdinteractiveauthentication no
challengeresponseauthentication no
printmotd no
printlastlog yes
x11forwarding yes
x11uselocalhost yes
permittty yes
permituserrc yes
strictmodes yes
tcpkeepalive yes
permitemptypasswords no
compression yes
gatewayports no
usedns no
allowtcpforwarding yes
allowagentforwarding yes
disableforwarding no
allowstreamlocalforwarding yes
streamlocalbindunlink no
fingerprinthash SHA256
exposeauthinfo no
pidfile /run/sshd.pid
xauthlocation /usr/bin/xauth
ciphers [email protected],aes128-ctr,aes192-ctr,aes256-ctr,[email protected],[email protected]
macs [email protected],[email protected],[email protected],[email protected],[email protected],[email protected],[email protected],hmac-sha2-256,hmac-sha2-512,hmac-sha1
banner none
forcecommand none
chrootdirectory none
trustedusercakeys none
revokedkeys none
securitykeyprovider internal
authorizedprincipalsfile none
versionaddendum none
authorizedkeyscommand none
authorizedkeyscommanduser none
authorizedprincipalscommand none
authorizedprincipalscommanduser none
hostkeyagent none
kexalgorithms curve25519-sha256,[email protected],ecdh-sha2-nistp256,ecdh-sha2-nistp384,ecdh-sha2-nistp521,diffie-hellman-group-exchange-sha256,diffie-hellman-group16-sha512,diffie-hellman-group18-sha512,diffie-hellman-group14-sha256
casignaturealgorithms ecdsa-sha2-nistp256,ecdsa-sha2-nistp384,ecdsa-sha2-nistp521,[email protected],ssh-ed25519,[email protected],rsa-sha2-512,rsa-sha2-256
hostbasedacceptedkeytypes [email protected],[email protected],[email protected],[email protected],[email protected],[email protected],[email protected],[email protected],[email protected],ecdsa-sha2-nistp256,ecdsa-sha2-nistp384,ecdsa-sha2-nistp521,[email protected],ssh-ed25519,[email protected],rsa-sha2-512,rsa-sha2-256,ssh-rsa
hostkeyalgorithms [email protected],[email protected],[email protected],[email protected],[email protected],[email protected],[email protected],[email protected],[email protected],ecdsa-sha2-nistp256,ecdsa-sha2-nistp384,ecdsa-sha2-nistp521,[email protected],ssh-ed25519,[email protected],rsa-sha2-512,rsa-sha2-256,ssh-rsa
pubkeyacceptedkeytypes [email protected],[email protected],[email protected],[email protected],[email protected],[email protected],[email protected],[email protected],[email protected],ecdsa-sha2-nistp256,ecdsa-sha2-nistp384,ecdsa-sha2-nistp521,[email protected],ssh-ed25519,[email protected],rsa-sha2-512,rsa-sha2-256,ssh-rsa
rdomain none
loglevel INFO
syslogfacility AUTH
authorizedkeysfile .ssh/authorized_keys .ssh/authorized_keys2
hostkey /etc/ssh/ssh_host_rsa_key
hostkey /etc/ssh/ssh_host_ecdsa_key
hostkey /etc/ssh/ssh_host_ed25519_key
acceptenv LANG
acceptenv LC_*
authenticationmethods any
subsystem sftp /usr/lib/openssh/sftp-server
maxstartups 10:30:100
permittunnel no
ipqos lowdelay throughput
rekeylimit 0 0
permitopen any
permitlisten any
permituserenvironment no
pubkeyauthoptions none
If you encounter following error:
sshd.service failed with result 'exit-code'
And your service is not running, try to run ssh-keygen -A to generate keys, and restart the service.

Desson AriawanProgrammer